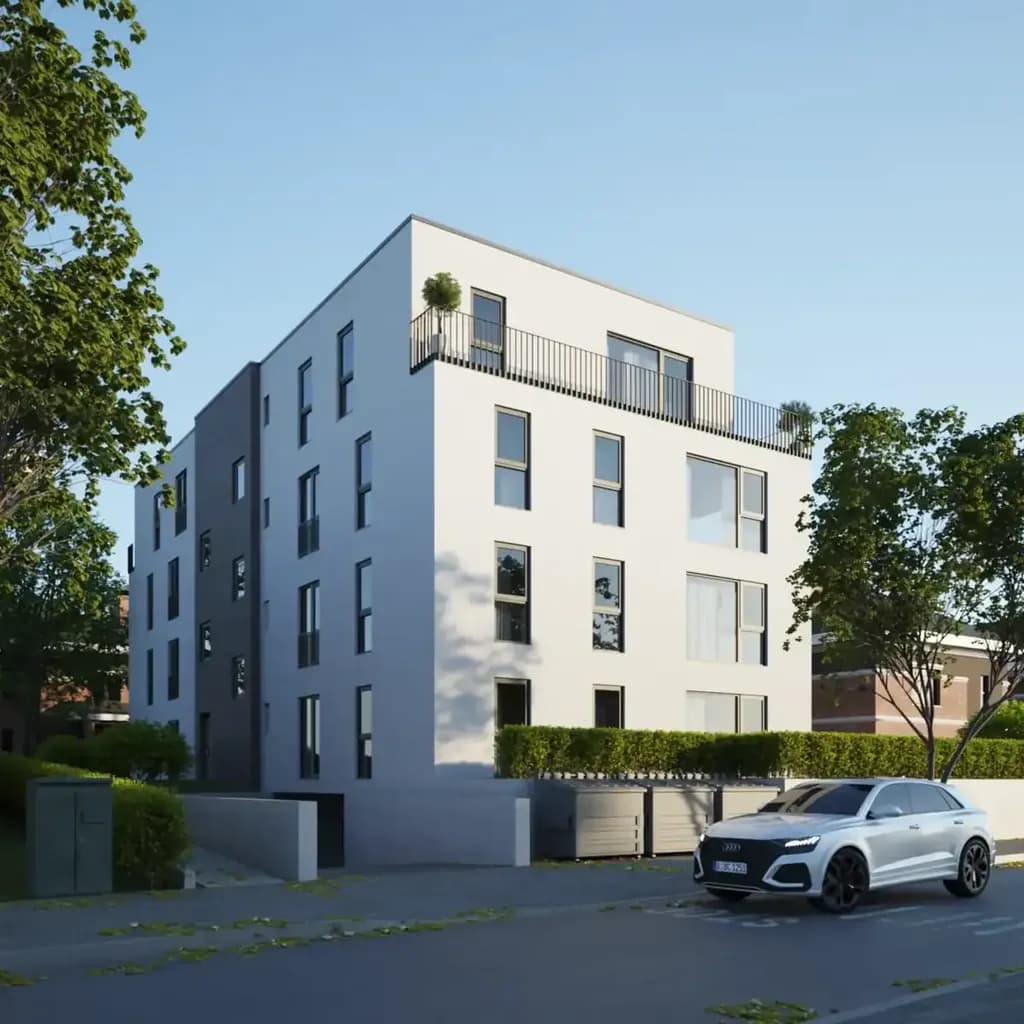
Renderings in the Approval Process: How Images Reach the Building Authority, the Design Review Board and the Neighbours
Building authorities, design review boards and neighbours read images differently than buyers. Why honest photomontages achieve more in the approval process than beautiful renderings.
Most people think of real estate visualisation as a sales tool: brochure, portal listing, sales office. Yet long before the first conversation with a buyer, it is decided whether a project may be built at all. And in exactly that phase there are people around the table who also work with images: case officers at the building authority (Bauamt), members of a design review board (Gestaltungsbeirat), local council members, residents at a public meeting. All of them need to picture what a plan at 1:100 actually means once it stands as a building in an established street.
A good rendering is not a sales instrument here, but an instrument of understanding. It answers the question that comes up again and again during the process: what will this really look like in the end?
An important note upfront: this article is not legal advice. Building regulations in Germany are a matter for the individual federal states, and the practice of approval authorities varies considerably from one municipality to the next. What is taken for granted as part of the application file in one city is unusual in the neighbouring district. For your specific case, talk to your architect, your planning office and the responsible authority.
Why Authorities and Committees Read Images Differently Than Buyers
A prospective buyer looks for a promise in an image. A design review board looks for evidence. That is a fundamentally different way of looking, and it has consequences for how you visualise.
Buyers forgive flattering light, a perfectly tidy terrace, a sun positioned just right. Committees do not. They are often made up of architects, urban planners and people who know the street by heart. If the neighbouring house in the image is suddenly two metres lower than in reality, someone will notice. And once they notice, the assessment tips not just for that one image, but for the entire submission. That loss of trust is hard to repair.
The practical conclusion is uncomfortable but simple: in the approval process, the flattering visualisation is the bigger risk. Honesty here is not a virtue, it is a strategy.
Making the Urban Fit Visible
In unplanned inner areas, the question of whether a project fits into the character of its immediate surroundings in terms of type and scale of use plays a central role. § 34 BauGB is one of the most debated provisions in German building law, and the assessment is always a case-by-case judgement by the responsible authority. No image decides how that judgement turns out.
But an image can structure the discussion around it. Because "fitting in" (Einfügung) is a concept that leans heavily on visual perception: eaves heights, ridge orientation, building depths, façade articulation, roofscape, the relationship of built volume to plot. All of that can be shown. An elevation that places the planned building in the context of the two neighbouring houses to the left and right makes clear in five seconds what a table of height comparisons only hints at.
The street elevation sequence (Straßenabwicklung) is particularly useful here: a correctly oriented row of the existing buildings with the new build in its place. It shows the rhythm and scale of the street and answers the most obvious question any review board will ask, namely whether the new building breaks the row or continues it.
Photomontage Instead of a Fully Modelled 3D Environment: The Decisive Difference
There are two ways to place a building in its surroundings. One: model the neighbourhood in 3D. The other: take an actual photograph of the existing situation and insert the building into it to scale.
For sales purposes, the first approach is often enough. In the approval process, the second is almost always better.
The reason is credibility. A fully rendered environment is a claim: this is how I have modelled the neighbourhood, because I consider it correct. A photograph is proof: this is how it looks there. In a photograph you see the condition of the neighbouring façades, the actual tree situation, the parked cars, the overhead cables, the fence that leans. None of it is pretty. But all of it signals: we have not glossed over anything.
For the photograph itself, perspective is decisive. A camera position at eye level from the pavement opposite corresponds to what residents actually see. In addition, drone photography provides the overview of roofscape, plot layout and neighbouring development that cannot be shown from ground level. Together, the two cover the two questions most frequently asked in approval procedures: how does it read from the street? And how does it sit within the neighbourhood seen from above?
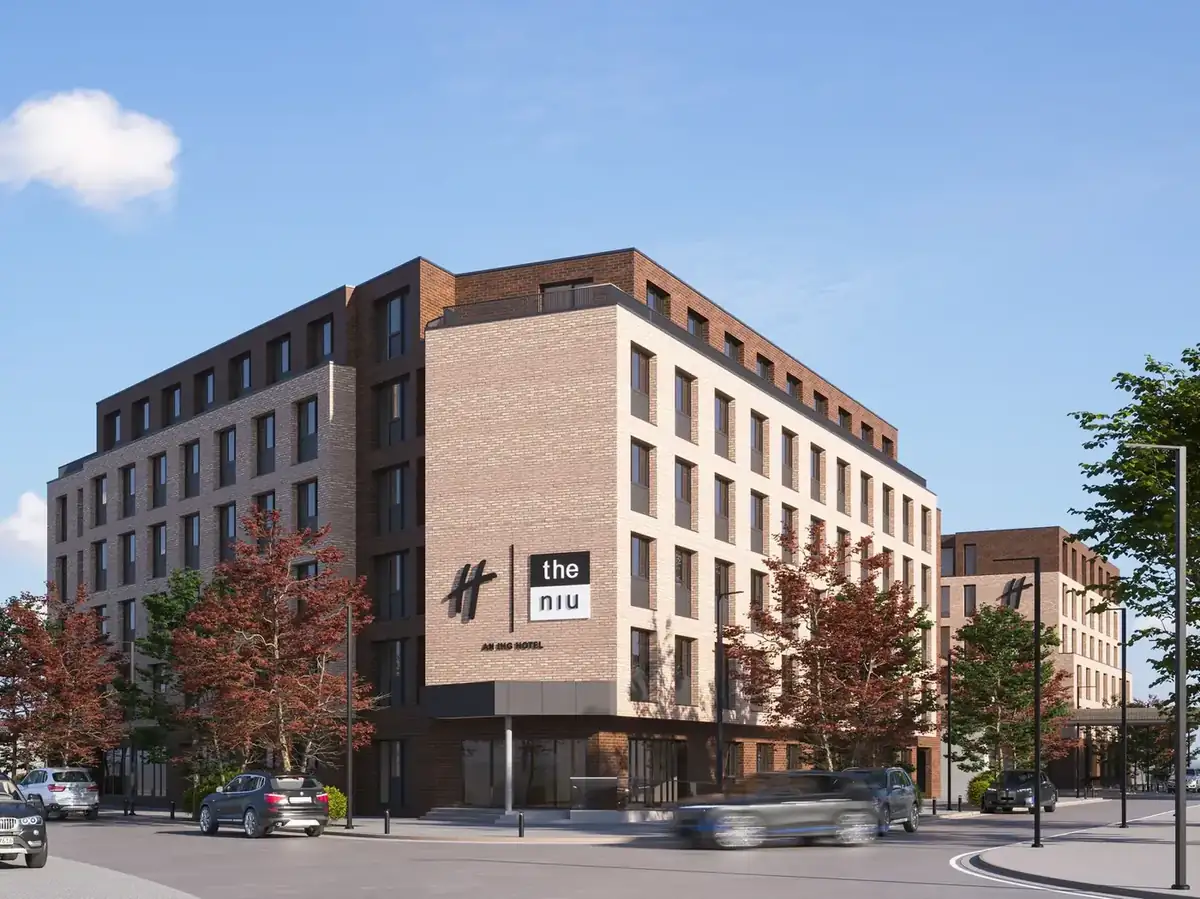
Shading and Sightlines: The Topics That Matter to Neighbours
In public participation events and conversations with neighbours, experience shows that two concerns dominate: "you are taking away my sunlight" and "you are blocking my view". Both are emotional topics, and both can at least partly be addressed factually.
A shading study shows the shadow cast by the planned volume at defined points in time. The usual reference dates are the winter solstice, the summer solstice and the equinoxes, each at several times of day. Whether such a study is required in the process, and in what form, depends on the federal state, the municipality and the individual case; the technical standards that authorities draw on should be clarified with your planner.
Its value in discussion is high regardless. A shading study turns an assertion ("you are taking our light") into a verifiable statement ("on 21 December at noon the shadow reaches this far"). That does not defuse every conflict, but it moves it from outrage to the level of fact. And on that level you, as the developer, have the advantage, provided your figures are sound.
Sightlines work in much the same way. A view from the neighbour's window, rendered from the actual window position, is uncomfortably honest. But it is also the only image that answers the question "what will I see in future?" without anyone having to take it on faith.
Four Mistakes That Get Expensive in the Approval Process
The mistakes that damage visualisations in approval procedures repeat themselves. They almost never arise from bad intent, but from sales habits that simply do not fit here.
The wrong scale. A building that looks slightly more squat in the image than in the plans is the classic case. It often comes from a camera position further away and higher up than any person will ever stand. An image taken from twelve metres up makes every house look lower. So: camera at eye level, focal length in the range of human vision, and no artificial perspective correction that straightens vertical lines which in reality are not straight.
Flattering tree heights. The most elegant trick for making a building look smaller is a tree that does not exist. Fifteen-metre maples in front of the façade are popular and telling. If existing trees are shown, show them at their actual size. If new planting is shown, show it as planted, not after twenty years of growth, or at the very least label it clearly.
Omitted neighbouring buildings. A new build standing freely in greenery, when in fact it is wedged between two existing structures, is worthless in the process. That very relationship to the neighbours is the question at issue.
Too much atmosphere. Golden evening light, people with coffee cups, a dog. In a sales brochure that works. In front of a review board it reads like a distraction. Use diffuse, neutral light, minimal staffage, no drama. What you want to avoid here is the impression that the image is meant to hide something.
What You Actually Need, and When
Not every project needs the same package. As a rough guide:
| Situation | Sensible visualisation |
|---|---|
| Straightforward building application, clear development plan (Bebauungsplan) | Usually none, or a simple elevation |
| Urban fit in an inner area disputed | Photomontage of the street view, street elevation sequence |
| Design review board involved | Photomontage, material studies, detail views |
| Neighbours raising objections | Shading study, sightlines |
| Public participation, open council session | Photomontage plus aerial image, legible in print too |
Timing matters. Visualisations for the approval process are best produced once the design is settled but still open to change. Anyone who only renders when the file is ready for submission gives away the most valuable function of the image: checking their own work. It is not unusual to see only in the first rendering that an eaves height breaks the rhythm of the row. At that point, changing the design is cheaper than collecting a rejection.
Using the Same Data Later in Sales
A practical side effect: the 3D model built for the approval process is the basis for everything that follows. The same model produces the sales images, the interior views, the virtual home staging of the show apartment and, later during construction, the comparison images for construction documentation. The effort is incurred once.
The difference lies in the treatment: sober for the authority, emotional for the buyer. But both have to show the same building. Anyone who presents a different house in the approval process than in the brochure has a problem no renderer can solve. How to approach the sales side is covered in more detail in our guide to real estate visualisation.
Conclusion
Renderings in the approval process follow different rules than renderings for sales. Less light, less staffage, more of the existing context, more evidence. The photomontage into a real photograph of the existing situation is the most honest and most effective tool, because it does not assert, it shows. Shading studies and sightlines take the heat out of discussions with residents by making them verifiable.
And once more, because it matters: which documents your authority specifically expects is something to clarify with your architect and the responsible office. This article provides orientation, not advice.
If you need a robust representation of urban fit for a live project, we will gladly produce a free sample rendering from your planning documents as part of our real estate renderings. That way you can see in advance how honest an image can be while still looking good.
Related articles
Explore Property rendering
See what the service includes, which source material is useful and how a typical project starts.