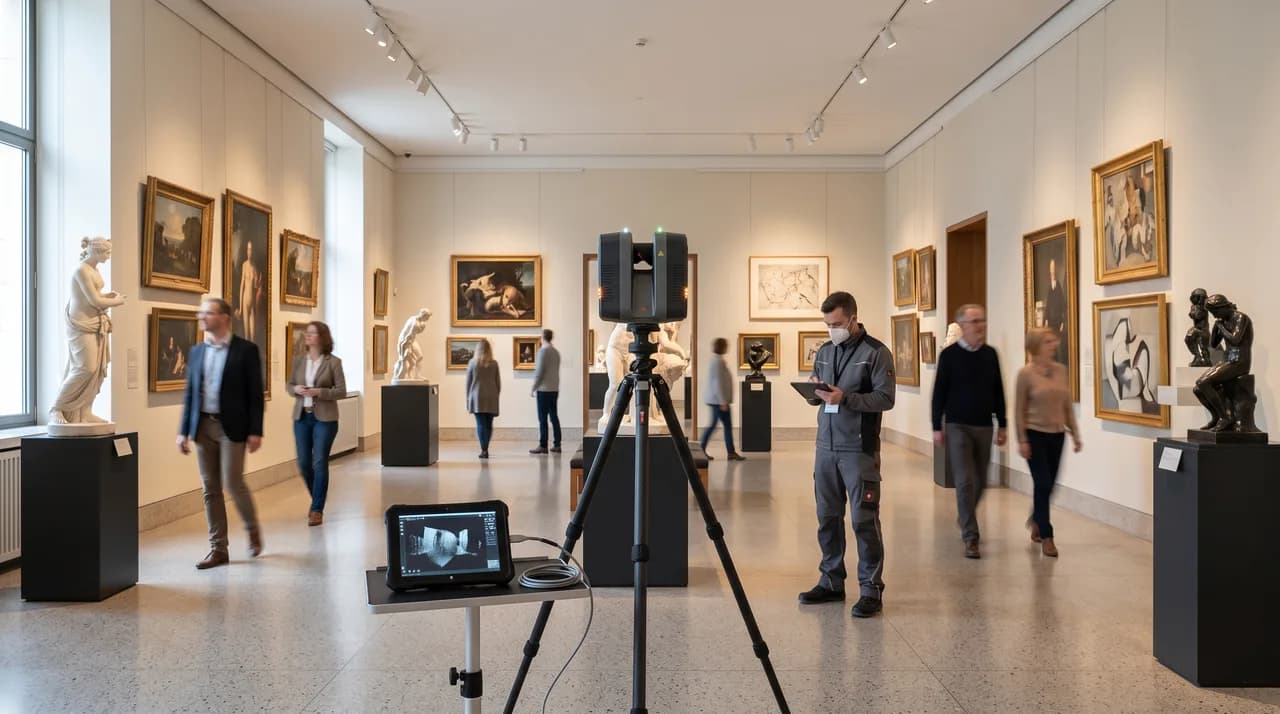
Museums are among the most demanding environments a spatial-capture team will ever work in. Unlike an office suite or an apartment, a museum is defined by the objects it protects: light-sensitive artefacts, borrowed treasures under strict insurance terms, sculptures behind reflective glass, and galleries kept deliberately dim to slow the ageing of what they display. Turning a space like this into a faithful virtual tour or digital twin takes far more than a 3D camera. It takes a process that respects conservation science, curatorial intent and technical precision in equal measure. This guide walks through how that process actually unfolds, step by step, from the first conversation to the day the tour goes live.
Why Museums Demand a Different Digitization Playbook
When you digitize a commercial or residential property, the goal is usually to communicate the character and flow of the space itself. In a museum, a second layer sits on top of that: the objects on display are the institution's actual capital, and every capture decision has to be made so that those objects come to no harm. Textiles fade under ultraviolet exposure. Oil paintings react badly to the heat of continuous lighting. Works on paper, photographs and manuscripts can be damaged by even modest light doses accumulated over time. A digitization method that ignores these realities is not simply suboptimal in a museum context — it is unworkable.
Then there is the spatial complexity. Museums are rarely open-plan. They tend to be sequences of differently lit rooms, narrow passages threaded between display cases, alcoves built around a single object, and — in many cases — historic buildings with irregular floor plans, thick walls and uneven floors. Each of these rooms sets its own rules for exposure, camera angle and movement. A uniform scanning grid that works beautifully across an office floor falls apart the moment it meets a dimmed cabinet of drawings next to a sunlit atrium.
Because of this, the entire workflow — from first enquiry to finished tour — looks different from a standard project. The stages below describe how a museum digitization typically progresses, and why each one matters. Understanding the sequence in advance is also what lets a museum budget realistically and brief its own staff on what to expect.
Step One: Planning Sessions With Curators and Conservators
Every museum project begins not with a camera but with a conversation. Curators, conservators and the museum's management hold knowledge that no external team can reconstruct from the outside: which objects are most sensitive to light, which rooms may only tolerate supplementary lighting for a strictly limited window, and which items cannot be shown at all — or only partially — because of copyright, loan agreements or donor conditions. Skipping this dialogue is the fastest way to derail a project after the equipment is already on site.
During this first planning phase, the team and the museum build an object list together, recording priorities and restrictions side by side. In parallel, a walkthrough of the building documents lighting conditions, floor surfaces, the layout of display cases and any pinch points where equipment will struggle to pass. This survey is decisive for the technical choices that follow: a sunlit foyer plays by entirely different rules than a windowless print room lit with dimmed, filtered LEDs.
Out of this groundwork comes a bespoke capture plan that specifies, room by room, which method will be used, what additional permissions are required — for instance from lenders or insurers — and on which days and at which hours the shoot can take place without disrupting normal opening times or scheduled tours. Many institutions prefer capture sessions outside visiting hours, early in the morning or on closing days, to guarantee undisturbed conditions and full control over who is in the building.
Choosing Conservation-Safe Lighting and Equipment
The central difference from conventional property capture lies in how the imagery is acquired. Spatial documentation in a museum generally relies on 3D laser scanners or photogrammetric camera systems that work without flash and instead make do with existing light, occasionally topped up by a minimal, carefully controlled amount of supplementary illumination. This protects the exhibits and, at the same time, records the true colour and mood of each room — so the digital version reflects the authentic experience of visiting in person rather than a brightened, artificial one.
Where extra light genuinely cannot be avoided — for example to prevent motion blur during long exposures — the standard is cold LED light with no ultraviolet component and tightly capped exposure durations. Conservators frequently define maximum lux values and cumulative exposure times, and the capture team holds to them without exception. These figures are agreed in advance and logged during the shoot, so it remains fully traceable which object was exposed to how much light and for how long. That record is part of the deliverable, not an afterthought.
Equipment choices reach beyond the camera itself. Rolling tripods are fitted with soft, non-marking wheels; cabling is routed so that nothing becomes a trip hazard and no case is ever brushed or nudged. In the most sensitive areas, tripods are often abandoned altogether in favour of handheld, stabilized capture rigs that can respond to cramped spacing and awkward sightlines. The guiding principle throughout is simple: the building and its objects set the constraints, and the equipment adapts to them.
Scanning Around Fragile Exhibits and Glass Cases
Glass display cases are among the toughest technical problems in museum digitization. Reflections, mirror images of the room lighting and ghosting from laminated security glass can render a capture unusable in an instant. In practice, a layered approach has proven reliable. The first move is to choose a capture angle so that direct light sources do not fall within the camera's angle of reflection; often a slight lateral shift of the capture point is enough to make a distracting reflection disappear entirely.
Polarizing filters are then added to cut reflections on glass and acrylic surfaces markedly, without altering anything in the gallery itself. For especially difficult cases, several exposures from different angles are combined so that, in post-production, the most reflection-free version can be selected for the final tour. Where exhibits stand in the open without a case — sculptures or large-format objects, for example — this step falls away, but a different priority takes its place: protecting the object from contact by the capture team. Here the same distance and handling rules apply to the crew as to any visitor, and often stricter ones.
A further practical detail concerns the lighting inside the cases themselves. Many display cases carry their own museum-calibrated lighting, tuned precisely to the object they hold and already vetted by conservators against light-protection limits. During capture, that lighting is normally left exactly as it is. Overriding it would not only risk the object but also destroy the very lighting design the curators intended visitors to see. The team works with these conditions rather than against them.
Working in Low-Light, Protected-Artwork Galleries
The most demanding rooms are galleries kept deliberately dim — the norm for drawings, watercolours, textiles and historic photographs. Illumination in these spaces often sits at just a handful of lux, far below what conventional camera work assumes. Rather than compensating with added light, which conservation rules rule out, specialized systems lean on long exposures, high-sensitivity sensors and multi-frame averaging to suppress image noise without raising the light level in the room by a single lux.
Because long exposures are acutely sensitive to vibration, tripod placement in these areas demands particular care. Capture is usually scheduled outside visiting hours to eliminate the vibration that foot traffic transmits through historic timber floors. Crew members avoid moving through the room while a frame is being recorded; instead the capture is triggered remotely from an adjacent space, so that even the operator's footsteps do not blur the result. Patience, more than any single piece of hardware, is what carries these rooms.
The reward for that patience shows up in the finished tour. Visitors to the digital version experience exactly the hushed, intimate lighting that gives these galleries their character on site — no artificially brightened, falsified rendering that would misrepresent both the room and the works within it. Faithfulness to the original atmosphere is not a nice-to-have here; it is the whole point of doing the work carefully.
Layering In Information Tags and Multimedia
A digitized museum is far more than a string of panoramic images. The real value for visitors comes from linking the tour to supporting information. In practice this is done with hotspots placed in the virtual space at the exact positions of the real object labels and information panels. A click on one of these points opens the object description, provenance, dating or further reading — the same material a visitor would find beside the physical exhibit, now available on demand.
Beyond text, the tour can carry audio guides, curated thematic routes and short video segments: interviews with curators, conservation documentation, or archival footage about how a particular work came to be. Multilingual text versions can be layered in as well, so that international visitors follow the same route in their own language. These assets are produced in close coordination with the museum, or adapted from existing educational material, so that nothing in the digital tour contradicts or awkwardly duplicates the on-site signage.
Technically, these multimedia layers are integrated so that they never slow the tour down. Content is loaded on demand — the moment a user activates a hotspot — rather than forcing every visitor to download the entire library of extras before the first room even appears. Navigation stays fluid no matter how deep the information behind each point runs, which means a museum can be as generous as it likes with context without punishing the experience.
Accessibility as a Built-In Benefit
One frequently underestimated benefit of museum digitization is accessibility. People with limited mobility who cannot manage narrow historic staircases or upper floors without a lift gain, through the virtual tour, full access to areas that remain physically closed to them. In listed and heritage buildings, where structural retrofits for accessibility are often severely constrained, the digital twin becomes a genuine extension of what the institution can offer rather than a mere marketing gloss.
Targeted adaptations help visitors with visual or hearing impairments too. Text content can be structured to work with screen readers, audio can be captioned, and contrast options in the interface can ease navigation. These features are best designed in from the concept phase rather than bolted on afterwards, since many of them are far more expensive — and far less elegant — to retrofit into a finished system. Building accessibility in early is both cheaper and better.
The reach extends further still. Schools that cannot fund a coach trip can bring a collection into the classroom; researchers and international visitors can survey a museum before committing to travel; and people who simply want to preview a visit can do so at their own pace. In every case the virtual tour works as an additional channel of access that complements the physical museum rather than competing with it. Well-executed digitization tends to grow an audience rather than divert one.
Typical Timeline From Scoping to Launch
The duration of a museum digitization project depends heavily on the exhibition area, the number of sensitive zones and the desired depth of multimedia. As a rough guide, though, the process divides into four blocks. The planning phase — initial meetings, the building survey and drafting the capture plan — usually runs one to three weeks, depending on how many internal approvals from conservators and lenders are required before anyone can start.
On-site capture itself takes anywhere from a few days to about two weeks, depending on the floor area. Larger institutions often spread the shoot across several closing days or early mornings over a longer period so that normal operations are never constrained. Post-production follows: stitching panoramas, cleaning up reflections, placing hotspots and integrating multimedia. This stage typically occupies two to four weeks, scaling with the complexity of the embedded content.
Before launch comes a joint review phase with the museum, in which curators test the tour, correct texts or hotspot positions, and confirm the technical integration on the institution's own website. For a mid-sized museum, the whole undertaking usually lands between six and ten weeks; very large houses with an extensive multimedia concept run correspondingly longer. Setting a realistic timeline from the outset — and building in that review window — is what keeps a project calm at the finish rather than rushed.
Conclusion
Digitizing a museum is a blend of conservation expertise, technical precision and disciplined planning. It starts not with the camera but with the conversation between the capture team and the curators; it continues through conservation-safe lighting choices, the patient handling of glass cases and dim protected galleries, and it culminates in a virtual tour that weaves information tags, audio guides and video into a coherent whole. The value to the institution reaches well beyond wider reach: accessibility, international access and a new educational channel all emerge as direct consequences of a carefully run process. Plan that process from the beginning with clear responsibilities, a realistic schedule and genuine respect for the objects, and the result is a digital twin that does justice to the original — and to everyone who visits it.