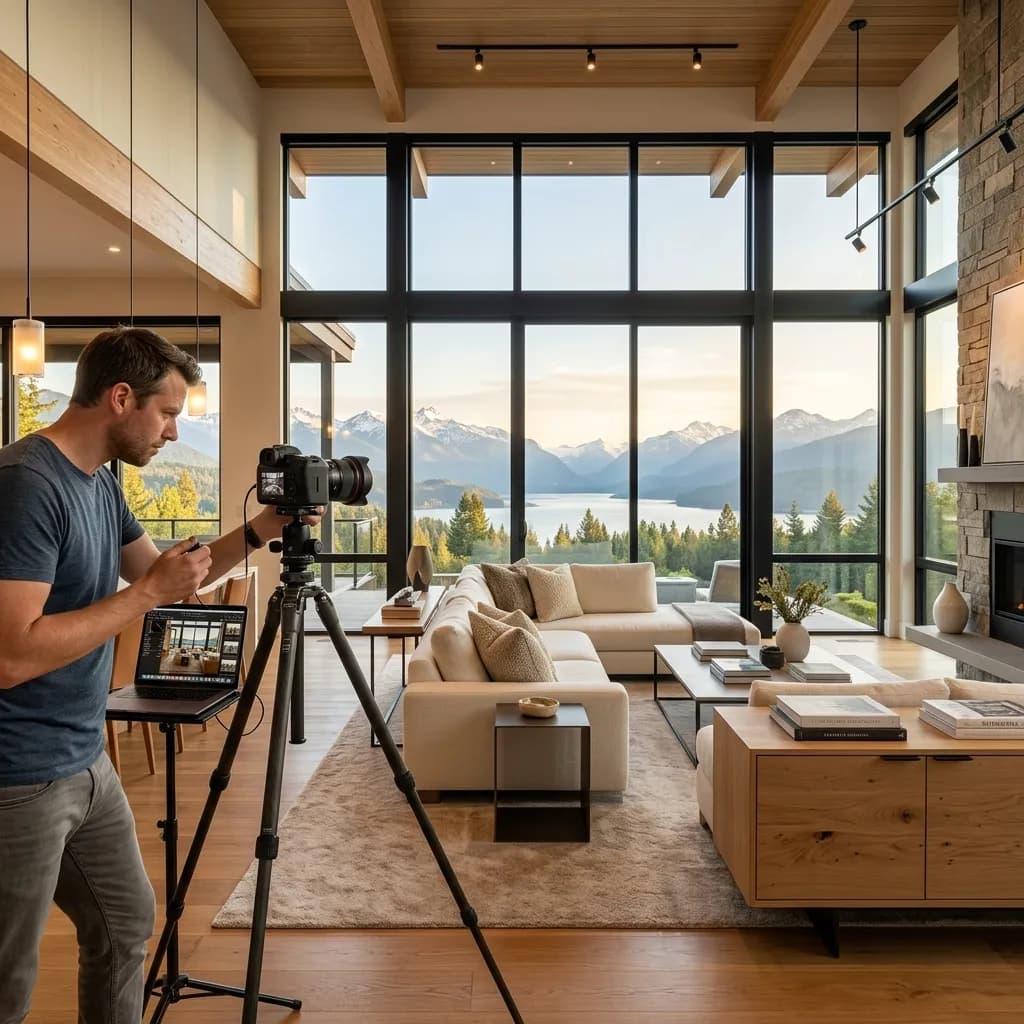
Preparing for Property Photography: The Shoot Checklist
Image quality is decided before the shoot. A working basis for agents and owners, from scheduling through to the last fifteen minutes on site.
The image quality of a brochure is largely decided before the photographer arrives. A professional can set lighting, choose viewpoints and correct a great deal in post-production. They cannot tidy up in two hours what has been accumulating for months, and they cannot change the season.
Preparation is therefore the cheapest quality measure in the whole process. It costs you and the owner time but no fee — and it affects every single image directly.
This article is intended as a working basis: what to settle a week in advance, what to do the day before, and what still matters on the morning of the shoot.
One week ahead: the framework
Fix the time of day and the position of the sun. The question is not "when is everyone free" but "when is the sun in the right place". For exterior shots, what counts is whether the main facade gets light in the morning or the afternoon. A north-facing facade is practically always in shade — here an overcast day can produce a better result than bright sunshine.
For interiors the opposite applies: most rooms look most balanced in diffuse light, because hard patches of sun on the floor are difficult to control. An appointment that satisfies both requirements often falls in the late morning with light cloud.
Clarify access. Who unlocks, who is present, how long is the property available? For tenanted flats the appointment has to be agreed with the tenant — in good time and in writing. Whether and to what extent a tenanted flat may be photographed is a matter to settle between owner and tenant before anyone stands at the door with a camera.
Check power and lighting. In vacant properties the electricity is often switched off. No power means no ceiling lighting, no lamps and no charging of batteries. In the winter months and in basement rooms that is a real problem.
Organise ancillary rooms and accessories. Who has the key for the cellar, garage, loft, garden gate and bike store? These rooms go into the brochure, and a missing key means a second appointment.
Keep an eye on building work and neighbours. Is there scaffolding on the house next door? Is the road being dug up? Is it bulk waste collection day? Such things cannot be retouched away, but they can be avoided by choosing another date.
The day before: interiors
The actual work. The principle: everything that does not belong to the room comes out.
Remove entirely:
- Visible cables, extension leads, chargers
- Waste bin, laundry basket, cleaning products, toilet brush, rubbish bin
- Kitchen items on the worktop: kettle, toaster, washing-up liquid, sponges, tea towel
- Magnets, notes and photographs on the fridge and the pinboard
- Shoes, coats and bags in the hallway
- Personal photographs, certificates, religious and political symbols
- Pet bowls, litter tray, scratching post, basket
- The clothes airer, even folded up in the corner
Tidy rather than remove:
- Towels: matching colour, neatly folded, visibly fresh
- Bed linen: smooth, plain, without strongly patterned designs
- Curtains: evenly gathered, not half drawn
- Chairs: evenly placed at the table, at equal spacing
- Bookshelves: thinned out, but not emptied
The points most often forgotten: clean the windows — they appear in the frame of every interior shot. Check all the bulbs and bring them to the same colour temperature; one cool-white bulb next to two warm-white ones produces an image that cannot be corrected cleanly. Blinds fully up, window sills cleared apart from at most one plant.
The day before: outside
Move all vehicles. All of them. Driveway, parking space, the street in front of the house. A stranger's car in the foreground is the most common reason an exterior shot is unusable.
Bins out of sight. Into the garage, behind the house, or at a neighbour's if need be.
Garden and paths. Mow the lawn, clear leaves, remove weeds from joints, sweep the paths. For terraces: set out and align the furniture, put on the cushions, open the parasol or remove it entirely — half open is the worst option.
Think seasonally. Store garden furniture in winter rather than leaving it under covers. Remove Christmas decorations if the property will be marketed into the spring. An inflatable pool and a trampoline have to go if the plot area is to be shown.
Water features. Cover or clean the pool — a cloudy water surface is worse than no pool image at all.
On the morning: the last twenty minutes
- Switch on all lights, in every room
- Open blinds and shutters fully
- Close toilet lids, in every bathroom
- Set doors consistently: usually open, so that sightlines through the flat are visible
- Clear and wipe the kitchen worktop one last time
- Make the beds with fresh linen and smooth them
- Take pets and their accessories out of the property
- Straighten the doormat, clean the doorbell plate
When the property is vacant
Vacancy is photographically more demanding than an occupied flat, not easier. Empty rooms look smaller, colder and more anonymous, and floor damage or marks on walls are fully visible without furniture.
Preparation here means above all thorough cleaning. Dust on window sills and radiators, cobwebs in corners, paint residue on the floor — all of it is clearly visible in a high-resolution image. Drill holes and leftover plugs are worth filling if the place is being repainted anyway.
For the marketing itself, virtual home staging is the obvious tool here. What matters for the shoot: announce it in advance. Rooms to be furnished virtually need different shots — more frontal viewpoints, more floor area in the frame, even light without hard shadows. A photograph that looks good as a finished result is not automatically a good basis for staging.
And remember that virtually furnished images have to be labelled. What to bear in mind is set out in our article on labelling virtual furnishing.
What preparation will not solve
So that expectations are right: some things remain even with perfect preparation.
Rooms stay the size they are. A wide-angle lens can make rooms feel more generous, but any exaggeration comes out at the viewing and does more harm than good.
The view stays the view. Neighbouring buildings, a railway line, an industrial shed — that is part of the location and must not be removed.
Structural defects stay visible. Damp patches, cracks and flaking paint must be neither tidied away nor retouched. If they are a problem, the answer is repair, not editing.
The weather is not negotiable. Sky replacement is common in exterior photography and generally unproblematic, as long as the light in the image matches. A summer sky above a garden with bare trees looks wrong, even when nobody can say why.
A small flat does not become large. Preparation makes sure it looks as good as it is. Anything beyond that is not the goal.
How the shoot runs
Allow more time than you expect. For a three-room flat with exterior shots, two to three hours is realistic if the work is done properly — setting up the tripod, bracketing exposures, checking every frame.
It works well to have one person on site who is allowed to decide: which room gets skipped, is the cellar included, does the garage go in. Questions by phone cost more time than the photography itself.
One more practical note: put whatever you remove from the rooms into a room that is not being photographed — cellar, storeroom, garage. Not onto the balcony and not into the room next door.
The short version to pass on
For handing to owners, a short list has proved useful:
1. Move all vehicles, put bins out of sight
2. Clear the worktops in kitchen and bathroom completely
3. Remove personal items, photographs, cables and pet accessories
4. Clean the windows, check every bulb
5. Fresh bed linen, matching towels
6. Mow the lawn, tidy the terrace and align the furniture
7. On the morning: all lights on, all blinds up, toilet lids closed
These seven points cover most of what actually costs images in practice.
Conclusion
Good property photography is half the photographer's craft and half the preparation of the property. The part you control is the cheaper of the two.
Give the checklist to the owner a week before the appointment and you get images that need no rework and no second visit. Open it on the morning of the shoot and you get images people look at.
What matters during the shoot itself is covered in our article on perfect property photography. How we handle photo shoots is described on the page about image editing.
Related articles
Explore Virtual home staging
See what the service includes, which source material is useful and how a typical project starts.