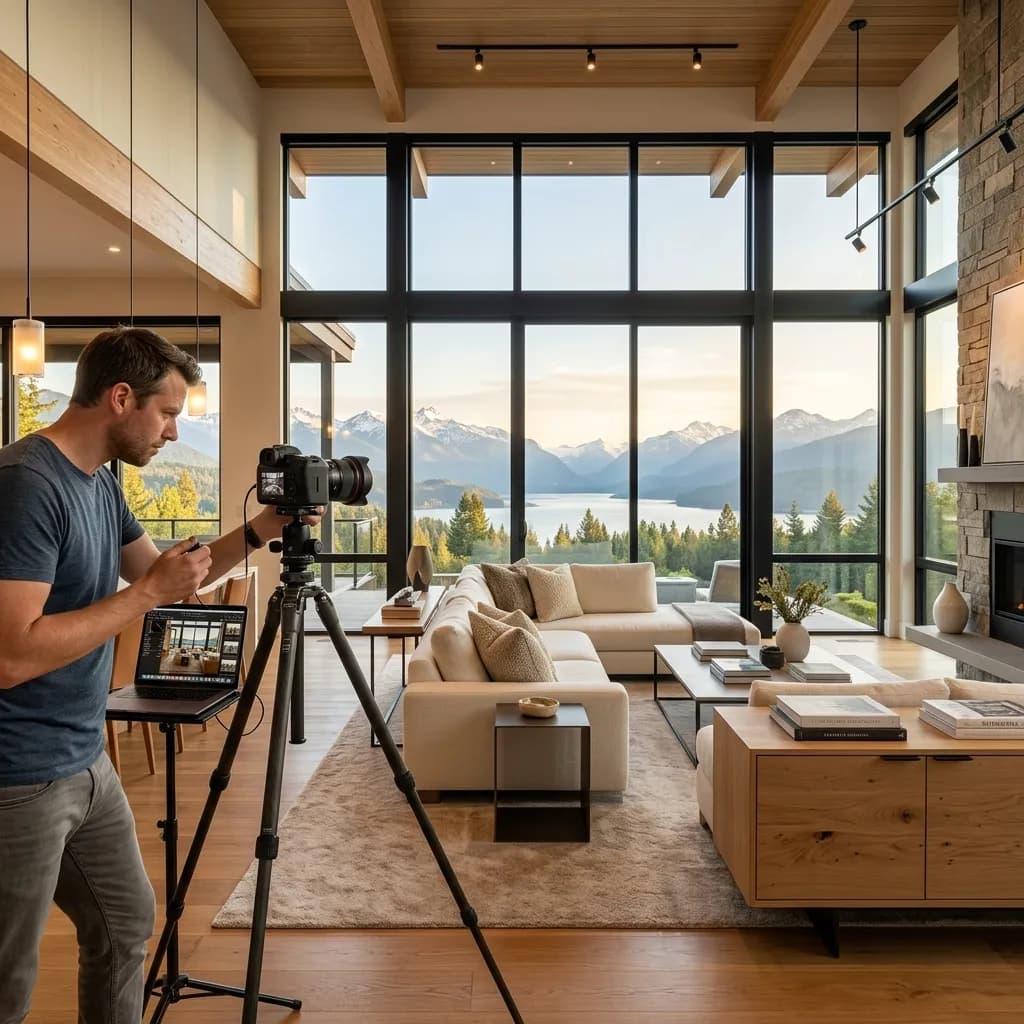
The 5 Secrets of Perfect Real Estate Photography
This is how you put objects in the perfect light and generate significantly more inquiries.
The exposé is the business card of the real estate agent. In milliseconds, it decides whether a prospective client on a real estate portal (such as ImmoScout24) stops and makes an inquiry—or keeps scrolling. Even more importantly: the exposé is the sharpest sword in acquisition. An owner only entrusts their most expensive asset to the agent who can prove that they can present it in the highest quality. The quality of your real estate photography is thus directly responsible for the level of your commission revenue and your premium positioning in the market. In this guide, we reveal the 5 secrets of professional real estate photography and show how you can move from amateur snapshots to highly converting, glossy images.
Secret 1: The Right Perspective – The Belly Button Principle
The most common mistake of untrained real estate agents is photographing from their own eye level (approx. 1.60 m to 1.80 m). The result: The camera looks slightly downward. In the image, the floor takes up disproportionately much space, while the ceiling presses down. The room immediately looks small, cramped, and disharmonious.
The professional solution:
Bring the camera to a height of approx. 1.10 m to 1.20 m - this corresponds to about belly button height. This perspective visually cuts the room in half perfectly between the floor and ceiling. Furniture (such as beds or tables) is not "crushed" from above, but presented at eye level. The result is a sublime, generous spatial effect that immediately suggests architectural expansiveness.
Secret 2: Prevent Converging Lines (The Tilt-Shift Effect)
Nothing screams 'amateur' like leaning walls in real estate photos. If you tilt the camera slightly upward (to show the ceiling) or downward, the vertical lines in the image (door frames, walls, windows) converge inward. The architecture loses its stability.
The Professional Solution:
The sensor plane of the camera must always be aligned 100% parallel to the wall. Use the digital level (grid lines) of your camera or smartphone. Professional architectural photographers use expensive tilt-shift lenses to correct converging lines optically already during the shoot. If you do not have this technique at hand, professional post-production by FotoEstate is indispensable. We digitally correct perspective distortions and align every wall in the image to be vertical down to the millimeter.
Secret 3: The Two-Wall Rule for Spatial Depth
Often, there is an attempt to squeeze as much of a room as possible into a single image. One stands deep in a corner of a room and photographs three walls with an extreme wide-angle lens. The image immediately appears restless, the proportions are heavily distorted (fisheye effect), and the viewer's eye finds no point of rest.
The Professional Solution:
Less is more. Limit yourself to depicting a maximum of two walls that meet in one corner (vanishing point). The eye is automatically drawn into the depth of the room through this one- or two-point perspective. The space appears tidy, structured, and significantly more elegant. Rather complement these overview shots with atmospheric detail images (e.g., a burning fireplace, an elegant faucet) instead of trying to cram everything into one picture.
Secret 4: The Mastery of Light (HDR Bracketing)
Real estate photography is a battle with light. You have large windows (glare from outside) and at the same time dark corners in the room (shadows). If you photograph normally, the window becomes a glaring white spot (the view is destroyed) and the room is moderately bright. If you expose for the view, the room becomes pitch black.
The Professional Solution:
The High Dynamic Range (HDR) technique. Turn on all light sources in the room to create a warm base atmosphere. Then create a series of exposures (exposure bracketing): three to five photos of exactly the same subject (a tripod is mandatory!) with different brightness levels – from very dark (for the details in the window) to very bright (for the dark corners). In professional image editing at FotoEstate, we manually merge these exposures. The result: a brilliantly bright living room, crystal-clear view through the window, and a perfect blend of daylight and artificial light.
Secret 5: Digital Decluttering and Depersonalization
Buyers do not want to move into the lived life of the previous owner; they want to imagine their own future in the rooms (lifestyle projection). A full trash can, dusty file folders on the desk, 30 family photos on the wall, or a colorful mix of shampoo bottles in the shower immediately destroy this illusion.
The Professional Solution:
The room must be depersonalized before the shoot (Clean Chic). If this is not possible on-site in an occupied property (or in dilapidated properties from foreclosure auctions), agents use Digital Decluttering from FotoEstate. We retouch personal items, tangled cables, and trash completely out of the image. On request, we enhance empty rooms through virtual home staging with high-quality, digital designer furniture to stimulate buyers' imagination to the fullest.
Conclusion: Outsourcing as a Lever for Broker Success
Perfect real estate photography requires time, technical equipment, and years of know-how. As a successful real estate agent, your core competency lies in sales and owner acquisition, not spending hours behind Photoshop.
The solution of top brokers: They delegate the post-production. They shoot the basic exposure series on site and upload them to FotoEstate's B2B portal. Within 24 hours, they receive perfect, color-corrected HDR images, straightened lines, and a bright blue sky (blue-sky replacement). You save valuable working time, impress owners in the first meeting with high-end exposés, and sell your mandates faster and more profitably. Invest in your visual brand – it is the greatest leverage for your business success.
Related articles
Explore Property image editing
See what the service includes, which source material is useful and how a typical project starts.